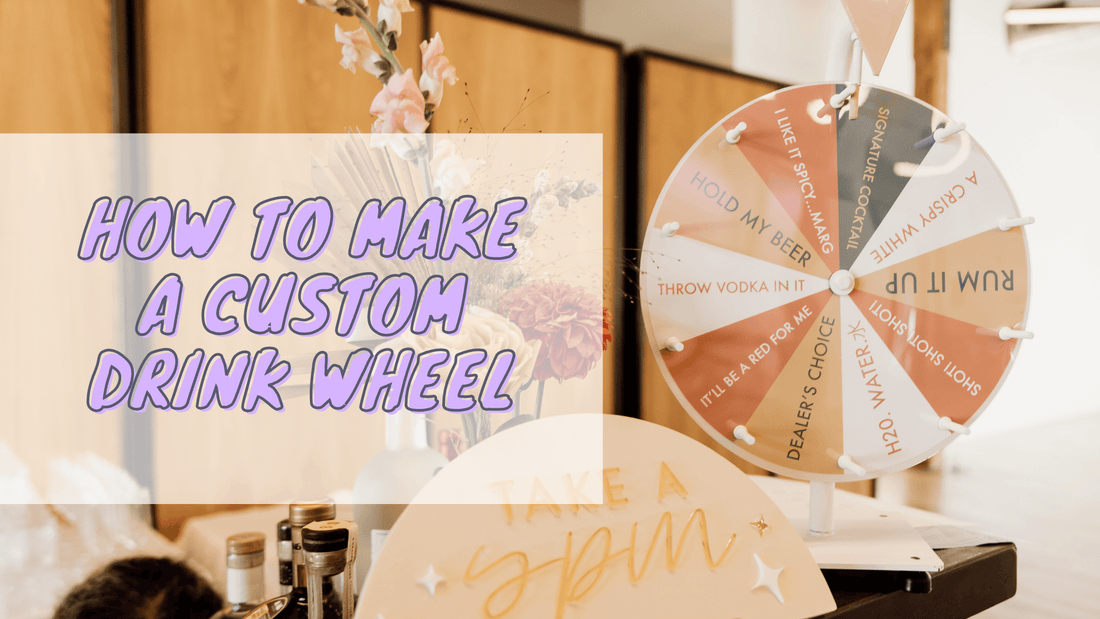
One of the biggest hits during my wedding reception was our custom drink wheel game at both of our bars! Guests can spin the wheel to determine which drink they'll receive, and it added an element of surprise and excitement to cocktail hour and our dinner reception. It's also a great way to get guests mingling and interacting with one another as they share their drink selections and preferences.

Materials to DIY Your Own Drink Wheel
Making this drink wheel to include your custom colors and drink options is easy! Below is a list of the items that I purchased to make mine. Feel free to change out coloration options as needed to best fit your wedding or party theme:
- 12" x 12" Spinning Wheel with 10 Slots
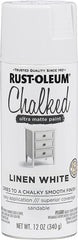
- Spray Paint (To change the color of the hardware, stand, and base, if black isn't in your color scheme)
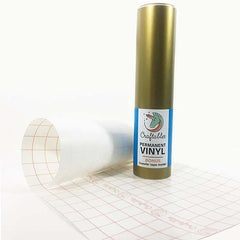
- Vinyl Adhesive Roll (choose your own color for the arrow)
- 13" x 19" Photo Paper (to print the wheel design)
- Printer that can print up to 13" wide (I use the Canon Pixma Pro printer)
- Scissors and/or Cricut Machine
- 1/4" Single Hole Puncher

How to Prepare Your Custom Drink Wheel
Spray Paint the Hardware Color
Once you have all of the materials, separate out the materials that you'll need to spray paint. For my project, I wanted to change all of the stand and base from black to white. I also wanted to update the metal pegs from silver to white.
Make sure to always spray paint in a well ventilated open space. My materials took 2 coats to spray paint on each side to get an even coat. This process took me approximately 2 days.
Cover the Arrow with the Vinyl Sheet Color
If your wheel is like mine, the arrow that came with the wheel was a bright, firetruck red. This color did not match my wedding theme AT ALL, and the spray paint did not stick to the plastic. So instead, I updated the color using a permanent vinyl adhesive sheet. I purchased the Coral color for mine, but find a color that best matches your theme!
Design Your Wheel Template
This was probably the trickiest step of the wheel design process. With a lot of trial and error on the size of the wheel, the paper I wanted to use, and understanding how the text will show up, I finally landed on a digital design that I colorized and added text.
To save you the trouble of having to do the same troubleshooting, I've made a downloadable template that you can use to edit and print your own wheel! The file you receive will come with instructions on how to edit in Canva or Photoshop. You can find it below:
Let me know if the template is helpful! Always happy to get feedback on how I can update this template to make it easier for people to use.
Print The Template
Once you are happy with the wheel design, save the image as a .PNG. Print the template on the 13" x 19" piece of paper. It's crucial that you print the image at the full 100% width of the template image in order for the template to fit properly on your wheel. Because the template is 12" wide and most printers print with margins/borders, it's recommended that you print on at least a 13" wide piece of paper.
If you don't have a printer that can print that wide, I recommend sending the file to a local printer or FedEx to print for you!
Cut Out the Circle
Once printed, cut out the circle either by hand with scissors (people really won't notice if it's not perfect), or with a Cricut (if you're a perfectionist, like me).
Assemble
The final step is to assemble all of the pieces together! Voila! Your very own custom wheel game.
TLDR Video Steps Below
@kimposed Which drink would you hope to land on? 🥃 #weddinginspo #weddingbar #seattlewedding #seattlebride #diywedding #diyweddingsign ♬ Lo-fi hip hop - NAO-K
Want to Save this Article? Pin the Image Below!

 https://kimposed.com